Saturday 27 April 2024

Addicted to CAS ~ Challenge #257

Hope you're finding time to craft. I find that crafting calms me and makes me happy. There is something about playing with paper that just makes my heart soar. We have a new challenge at Addicted to CAS that we hope might inspire you to spend some time in your craft space. Our challenge is


Here's my card


For my card, I started by masking off the top 2 3/4" of a white A2 card base. I then used My Favorite Things' Sun Ray Stencil with distress inks - squeezed lemonade, mustard seed and wild honey applied with oval ink blending brushes. I stamped the cute face using The Alley Way's Neener Neener and Versafine Onyx Black ink. I carefully removed the masking and stamped the sentiment using Lawn Fawn's Sweet Smiles stamp set and again, Versafine Onyx Black ink. Once the ink was dry, I added glossy accents to the sunglasses for a bit of shine.

We'd love to see your SMILE cards in our gallery.

Thanks for stopping by
sue

This site uses cookies from Google to deliver its services and analyze traffic. Your IP address and user-agent are shared with Google along with performance and security metrics to ensure quality of service, generate usage statistics, and to detect and address abuse. 

Tuesday 16 April 2024

Addicted to Stamps and More! Challenge #466

Hope you're ready for our next challenge at Addicted to Stamps and More! For the next fortnight, our challenge will be


By Make Your Mark, we mean use colored pencils, inks, markers, use something that leaves a mark! Here's my card


For my card, I started with a white A2 panel, Simon Says STAMP's Bold Geometric stencil, Wendy Vecchi's Make Art STAY-tion and distress inks (cracked pistachio, peacock feathers, mermaid lagoon). I applied the color randomly with oval ink blending brushes. For the sentiment, I die cut using Simon Says STAMP's Thanks On a Line die and a scrap of medium gray cardstock. I glued the sentiment in place and adhered the panel to a white A2 cardbase with double-sided tape to complete my card.

We'd love to see how you MAKE YOUR MARK on your card in our gallery this fortnight.

Thanks for stopping by
sue

This site uses cookies from Google to deliver its services and analyze traffic. Your IP address and user-agent are shared with Google along with performance and security metrics to ensure quality of service, generate usage statistics, and to detect and address abuse. 

Try A Sketch on Tuesday ~ Challenge #645

We have a new sketch at Try A Sketch On Tuesday, which we hope will inspire you to get crafty. Here's the sketch.


Here's my take on the sketch


I made this card for a friend who was traveling to Japan to wish here a good vacation and safe travels. I made the "background" red and gold paper. I started with Local King Rubber Stamp's Chinese Symbol (1) background stamp and some red cardstock. I heat embossed the image with gold embossing powder. I then dusted off my Creative Memories' Custom Cutting System to cut the curved edge with one of the Creative Memories' blades. I adhered it to a light gray A2 card panel and trimmed the edges. For my little geisha, I used a un-named Japanese stamp set. I stamped the girl with Memento Tuxedo Black ink and added color with Copic markers - E50, G82, R22, R32, Y15, YG67 and fussy cut her. For the sentiment, which sadly is not so visible, I used Waffle Flower's Konnichiwa stamp set and gold embossing powder. The sentiment says "konnichiwa" which translates to hello. I glued the girl into place with tape runner and then adhered the A2 panel to a white A2 card base to complete my card.

We'd love to see how you were inspired by our sketch in our gallery.

Thanks for stopping by
sue

This site uses cookies from Google to deliver its services and analyze traffic. Your IP address and user-agent are shared with Google along with performance and security metrics to ensure quality of service, generate usage statistics, and to detect and address abuse. 

Monday 15 April 2024

Atlantic Hearts Sketch Challenge #573

We have a new challenge at Atlantic Hearts Sketch Challenge. We hope that this sketch will inspire you to spend some time paper crafting.


Here's my card


For my card, I started with MME's Indie Chic 6x6 designer paper pad. I chose two designer papers, the chevron and the floral as well as the solid teal. It's so nice that the papers from a paper pad coordinate with one another. It saves me trying to find something that "goes". I cut the pieces and adhered them to a cream A2 card panel. For the sentiment, I stamped using Simon Says STAMP's Lots of Thanks stamp set with PinkFresh Studio's Mermaid Cove ink on a scrap of cream cardstock. I trimmed it and used the same solid teal to mat the sentiment. For the pizzazz, I die cut two flourishes using My Favorite Things' Large Fancy Flourish die from some green cardstock. I glued them in place and then glued the sentiment in place. I adhered the panel to a white A2 card base with double sided tape to complete my card.

We'd love to see how you're inspired by our sketch by seeing your work in our gallery.

Thanks for stopping by
sue

This site uses cookies from Google to deliver its services and analyze traffic. Your IP address and user-agent are shared with Google along with performance and security metrics to ensure quality of service, generate usage statistics, and to detect and address abuse. 

Sunday 14 April 2024

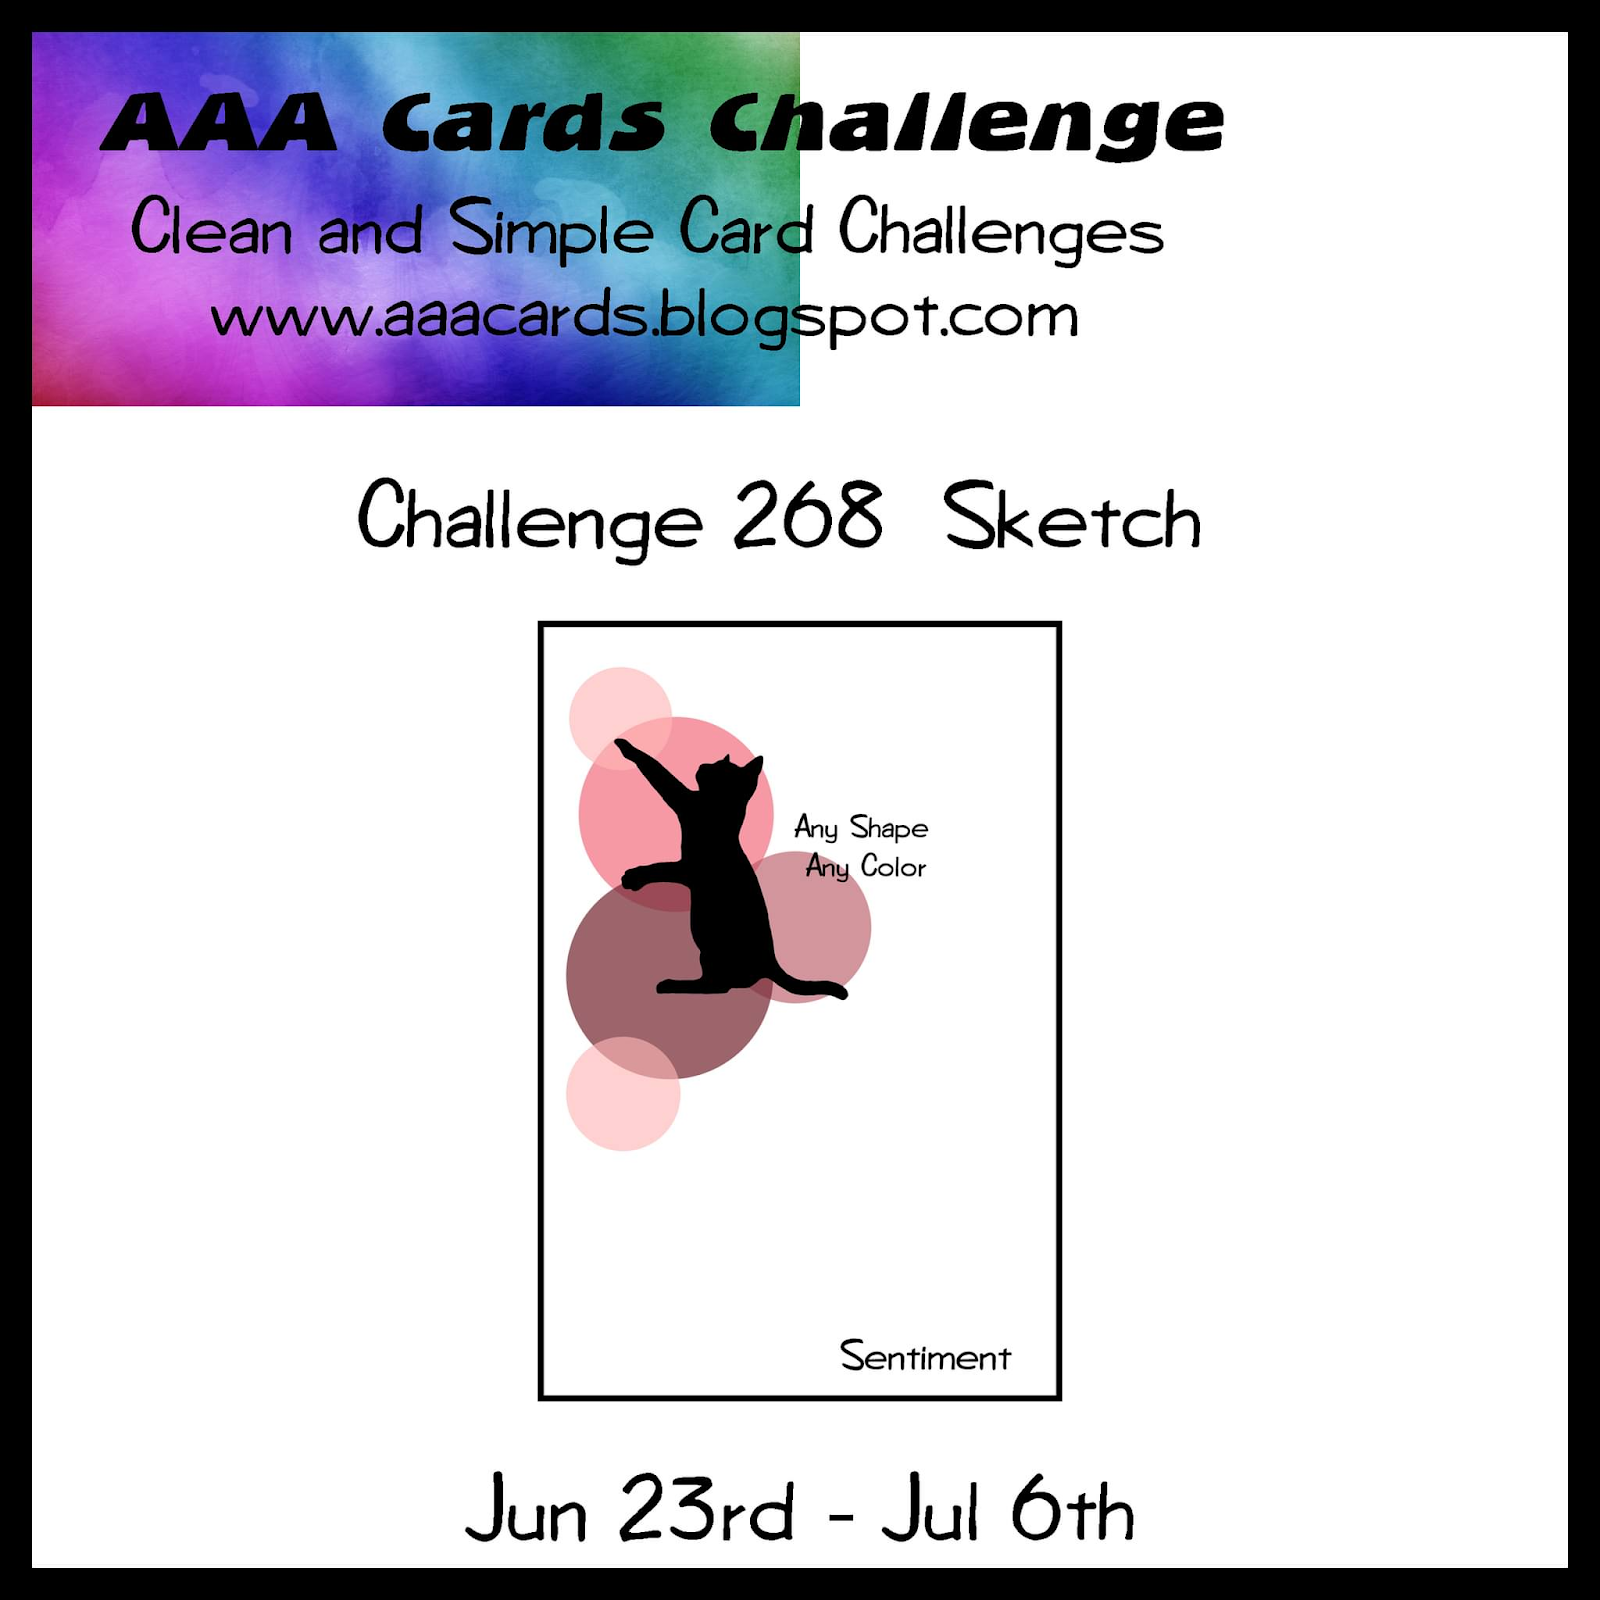
AAA Cards ~ Challenge #263

Time for a new challenge at AAA Cards. For the next fortnight, our challenge is


Here's my card


For my card, I started by embossing some white cardstock with Cutterbug ProvoCraft's D'Vine Swirls embossing folder. I then die cut with a Memory Box Cherub Hearts die. I also die cut the same sized heart using black cardstock and just the central portion of the heart with white cardstock. I trimmed the white central portion to mimic the shirt. I used Lawn Fawn's Build-A-Snowman die set to die cut a bow tie from black cardstock. I found some gray polka dot patterned paper as a background for the hearts. I heat embossed the sentiment using Your Next Stamp's Whynot Sentiments stamp set and silver embossing powder. I glued the hearts to the polka dot paper and the man's shirt and bow tie in place on the black heart. I added adhesive dots for the buttons on both the man's shirt and the woman's dress. To complete the card, the panel was adhered to a white A2 card base with double-sided tape.

We'd love to see your clean and simple card(s) in our gallery.

Thanks for stopping by
sue

This site uses cookies from Google to deliver its services and analyze traffic. Your IP address and user-agent are shared with Google along with performance and security metrics to ensure quality of service, generate usage statistics, and to detect and address abuse. 

Saturday 13 April 2024

Addicted to CAS ~ Challenge #256

We have a new challenge at Addicted to CAS starting.

Here's my monochromatic card


I started my gray card by positioning Pink & Main's Mask It Circle stencil over an A2 panel of medium gray cardstock with my Wendy Vecchi's Make Art STAY-tion. I cut some "hills" with my Creative Memories 12" Decorative trimmer from scrap photocopy paper. I used the "hills" as stencils as I applied both Taylored Expressions Oyster ink and Concord & 9th's Dove ink, applied with an oval ink blending brush, alternating the inks and changing the position and orientation of the "hills". I added some additional Dove ink along the edges of the circle stencil to help to define the circle. I removed the stencils. Next, I stamped the silhouette image, using Gina K Designs' Friendly Silhouettes stamp set and Gina K Design's Slate ink. I stamped the sentiment using Clearly Besotted's A Little Sentimental and Gina K Design's Slate ink to complete my panel. The last step was to adhere the panel to a white A2 card base.

We'd love to see your monochrome-inspired card in our gallery this fortnight.

Thanks for stopping by

sue

This site uses cookies from Google to deliver its services and analyze traffic. Your IP address and user-agent are shared with Google along with performance and security metrics to ensure quality of service, generate usage statistics, and to detect and address abuse. 

Tuesday 9 April 2024

Die Cut Divas ~ Spring with RAM Stamps

Hey Crafty Friends! We have a new challenge at Die Cut Divas for the month of April. Our challenge is

MAKE A SPRING CARD

Our sponsor this month is RAM Stamps. They will be giving our winner a $10 gift certificate for their online store.


Here's my card


I guess I associate bunnies with Easter and Easter falls in Spring. So, that's my story and I'm sticking with it. So, here's my Spring card. I used RAM Stamps Bunny & Guinea: Smile digital stamp. I sized it and printed it with my InkJet printer on white cardstock. I added color with Copic markers - C2, C3, C7, E25, E33, E50, G82, R29, RV02, Y15, YR02, YR04. I die cut the white cardstock with a My Favorite Things Inside & Out Stitched Rectangle STAX die. For the sentiment, I used Simon Says STAMP's Handwritten Sentiments stamp set. I found some pastel (Spring-like colors) striped patterned paper from which I cut stripes of varying widths. I adhered everything to a medium gray A2 card panel which was then adhered to a white A2 card base to complete my card.

We'd love to see your Spring-inspired cards in our gallery this month.

Thanks for stopping by
sue

This site uses cookies from Google to deliver its services and analyze traffic. Your IP address and user-agent are shared with Google along with performance and security metrics to ensure quality of service, generate usage statistics, and to detect and address abuse. 

Tuesday 2 April 2024

Addicted to Stamps and More! Challenge #465

Our next challenge at Addicted to Stamps and More! is 


Here's the card I made


For my card, I used Gina K Design's Fancy Florals Layering Stencils (4 pieces) which I received as part of the kit for Crop & Create Delivered Fall 2023 on a white A2 card panel. For the colors, I used distress inks - seedless preserves, wild honey, mowed lawn, peeled paint, applied with oval ink blending brushes. I stamped the sentiment using Gina K Design's Friendly Silhouettes stamp set which I received as part of the kit for Crop & Create Delivered Fall 2021. I trimmed the A2 panel and matted with an olive green cardstock, just slightly larger. die cut with a Waffle Flower's A2 Layers die and a Waffle Flower's Additional A2 Layers die. I adhered it to a white A2 card base to complete my card.

We'd love to see your cards in our gallery this fortnight.

Thanks for stopping by
sue

This site uses cookies from Google to deliver its services and analyze traffic. Your IP address and user-agent are shared with Google along with performance and security metrics to ensure quality of service, generate usage statistics, and to detect and address abuse. 

Try A Sketch on Tuesday ~ Challenge #644

It's time for a new challenge at Try A Sketch on Tuesday. Here's the sketch.


I was inspired by the card on the right, below from the Simon Says STAMP blog and I rotated the sketch 90 degrees, counter-clockwise.


Here's my card


I started by choosing the patterned paper. I cut a strip 1 1/2" x 5 1/2". I chose three colors from the plaid. I cut the dark gray and dark teal in 2 1/2" x 1/2" strips. For the burnt orange color, I first embossed it with Simon Says STAMP's Tumbled Hexagons embossing folder and then cut 2 1/2" x 1/2" strips. On a piece of printer paper, I adhered the strips and trimmed edges when they were uneven. On a natural A2 card base, I adhered the plaid strip and the striped element I created in place. For the sentiment, I used Simon Says STAMP's Lots of Thanks stamp set with PinkFresh Studio's Tidal Pond ink, stamping on a scrap mid-gray. I die cut it with a My Favorite Things Stitched Circle STAX die. I glued that element in place to complete my card.

We'd love to see how you're inspired by our sketch.

Thanks for stopping by
sue

This site uses cookies from Google to deliver its services and analyze traffic. Your IP address and user-agent are shared with Google along with performance and security metrics to ensure quality of service, generate usage statistics, and to detect and address abuse. 

Monday 1 April 2024

Atlantic Hearts Sketch Challenge #571

Happy Monday! We're enjoying a four-day weekend here and I'm blissfully playing at my craft table. I hope that you're finding time to craft too. We have a new challenge at Atlantic Hearts Sketch Challenge


Here's my card


For my card, I used Your Next Stamps'  Snorkel Fun Fishy stamp set. I stamped the image with Memento Tuxedo Black ink on some white cardstock. I added color with Copic markers - B24, BG15, R05, RV06, Y15, Y17, YR04 and then die cut the image with the coordinating die. For the smaller background panel, I started with Simon Says STAMP's Wave stencil and added color with distress inks - salty ocean, mermaid lagoon, peacock feathers applied with oval ink blending brushes. I cut the panel to 4" x 2 7/8" and matted with a mid-gray cardstock. I stamped the sentiment from the same stamp set to the wavy panel. For the 1" x 4 1/4" stripes, I cut them from scraps of shades of blue and teal cardstock. I glued the stripes to a medium teal A2 card panel then adhered the stenciled background with the fish to complete my card.

We'd love to see how you're inspired by our sketch. Won't you add your cards to our gallery?

Thanks for stopping by
sue

This site uses cookies from Google to deliver its services and analyze traffic. Your IP address and user-agent are shared with Google along with performance and security metrics to ensure quality of service, generate usage statistics, and to detect and address abuse. 

Sunday 31 March 2024

AAA Cards ~ Challenge #262

It's time for a new challenge at AAA Cards. Here's our sketch that we hope will inspire you.


I struggled with this sketch. This is what I ended up.


For my card, I masked an area 1 3/4" x 3 3/8" in the bottom left corner and I added another section, 1 1/4" x 5/8" on a white A2 card panel. I used my Wendy Vecchi's Make Art STAYtion and Simon Says STAMP's Waves stencil. I added color with distress inks - Mermaid Lagoon, Peacock Feathers, Salty Ocean, applied with oval ink blending brushes. I carefully removed the mask. For the star of my card, I stamped it using Your Next Stamp's Snorkel Fun Penguin on a scrap of white cardstock with Memento Tuxedo Black ink. I added color with Copic markers BG13, R05, Y17 and fussy cut the image out. I glued it in place. For the sentiment, I used the same stamp set and Versafine Onyx Black ink. I adhered the white A2 card panel to a white A2 card base with double-sided tape to complete my card. Looking back at my card, I'm thinking that I should have just stenciled the rectangle and the sentiment, sticking out might have been enough to adhere to the sketch. Thoughts?

We'd love to see your cards in our gallery this fortnight.

Thanks for stopping by
sue

This site uses cookies from Google to deliver its services and analyze traffic. Your IP address and user-agent are shared with Google along with performance and security metrics to ensure quality of service, generate usage statistics, and to detect and address abuse. 

Die Cut Divas ~ Last Day of March Challenge with Lawn Fawn

It's the last day of our challenge for March at Die Cut Divas where our challenge is

ANYTHING GOES

This month, we're sponsored by Lawn Fawn. They will be giving our randomly-selected winner a gift card for $25. Thank you Lawn Fawn.


Here's my card


I was inspired and enabled to do a bit of shopping by Toni and these cards. The cards are adorable and I had to buy Lawn Fawn's Build-A-Snowman dies.


I die cut the pieces of my snowman using scraps of paper and some plaid paper for his scarf and band of his hat. For the sentiment, I used Your Next Stamp's Believe in the Magic stamp set, which was heat embossed with white embossing powder. I glued all the pieces in place on a blue A2 card panel. To complete my card, I adhered it to a white A2 card base with double-sided tape.

We'd love for you to join our ANYTHING GOES challenge. 

Thanks for stopping by
sue

This site uses cookies from Google to deliver its services and analyze traffic. Your IP address and user-agent are shared with Google along with performance and security metrics to ensure quality of service, generate usage statistics, and to detect and address abuse. 

Saturday 30 March 2024

Addicted to CAS ~ Challenge #255

Living in the Pacific Northwest region of North America, the code word for the next challenge at Addicted to CAS is very familiar.


Here's my card


For my one layer card, I stamped onto a white A2 card base with Great Impressions' When It Rains stamp and Memento Tuxedo Black ink. I added color with Copic markers - B12, BG05, C2, R17, V06, Y15, YG09, YG23, YR04. Once I decided what to do, this card came together very easily. 

We'd love to see how our code word RAIN inspires you and we'd love to see what you make in our gallery.

Thanks for stopping by
sue

This site uses cookies from Google to deliver its services and analyze traffic. Your IP address and user-agent are shared with Google along with performance and security metrics to ensure quality of service, generate usage statistics, and to detect and address abuse. 

Tuesday 19 March 2024

Addicted to Stamps and More! Challenge #464 ~ Any Occasion

Hope you're ready for our next challenge at Addicted to Stamps and More! Our challenge for this fortnight is


Here's the card that I made for a work colleague who was leaving. He is an excavator operator.


I started this card with a white A2 card panel. I then added the mounds of dirt using Pretty Pink Posh's Dino Dig stencil and gathered twigs, brushed corduroy distress inks, applied with oval ink blending brushes. I lightly added more brushed corduroy around the mounds. For the mottled look, I lightly sprayed water with my Ranger distress sprayer. For the excavator, I made it using Pretty Pink Posh's Layered Construction Trucks stencils. I used mustard seed, weathered wood and hickory smokedistress inks, applied with oval ink blending brushes. For the sentiment, I used Paper Smooches' Noteworthy and Hero Arts Cup O' Joe ink. I trimmed the panel down slightly and matted on a kraft A2 panel. I then adhered it to a white A2 card base to complete my card.

We'd love to see your ANY OCCASION cards in our gallery.

Thanks for stopping by
sue

This site uses cookies from Google to deliver its services and analyze traffic. Your IP address and user-agent are shared with Google along with performance and security metrics to ensure quality of service, generate usage statistics, and to detect and address abuse. 

Try A Sketch on Tuesday ~ Challenge #643

It's Tuesday so it must be time for a new challenge at Try A Sketch on Tuesday. Here's our sketch


Here's my card


For my card, I used STAMPlorations' Coffee Petites stamp set. I stamped three of the images on white cardstock with Memento Tuxedo Black ink. I added color with Copic markers - BG05, BV13, C3, E43, YG06. I then used a Sizzix circle die to die cut them. I arranged them on a medium gray A2 card panel and glued them in place. I stamped the sentiment, using Unity Stamp's Cup of Tea stamp set. I adhered the panel to a white A2 card base with double-sided tape to complete my card.

We'd love to see how you interpret our sketch. Add your creations to our gallery.

Thanks for stopping by
sue

This site uses cookies from Google to deliver its services and analyze traffic. Your IP address and user-agent are shared with Google along with performance and security metrics to ensure quality of service, generate usage statistics, and to detect and address abuse. 

Monday 18 March 2024

Atlantic Hearts Sketch Challenge #569

Happy Monday Crafty Friends! We have a new challenge at Atlantic Hearts Sketch Challenge. We hope this sketch will inspire you to spend some time crafting.


Here's my take on this sketch


I started by cutting 1/4" strips from scraps of cardstock. I adhered them to a scrap of printer paper. I then die cut using a Memory Box Cherub Hearts die. For the sentiment, I stamped using Simon Says STAMP's Thanks stamp set on a piece of natural cardstock. I then die cut the sentiment using Simon Says STAMP's Folder Banner die. I decided to adhered the banner and heart to a piece of light blue cardstock - the same color as one of the stripes. It measures 3 3/4" x 5". I adhered this panel to a natural A2 card base to complete my card.

We'd love to see how you're inspired by our sketch. Be sure to add your creations to our gallery.

Thanks for stopping by
sue

This site uses cookies from Google to deliver its services and analyze traffic. Your IP address and user-agent are shared with Google along with performance and security metrics to ensure quality of service, generate usage statistics, and to detect and address abuse. 

Sunday 17 March 2024

AAA Cards ~ Challenge #261

There is something so calming about clean and simple cards. When life gets hectic, I like to sit at my craft table, listen to some nice easy listening music and make some clean and simple cards. This just makes me happy!

If you're like me or if you're looking to give clean and simple cards a try, we have a new challenge at AAA Cards.


Here's my card


For my one layer Spring-inspired clean and simple card, I started with a white A2 card base. I then used my Wendy Vecchi's Make Art STAY-tion and Pink & Main's Mask It Circle. I added color with oval ink blending brushes and distress inks - saltwater taffy, spiced marmalade, mustard seed, festive berries, ripe persimmon, mowed lawn, bundled sage with Simon Says STAMP's Slimline Floral stencil. To help accentuate the masked circle, I removed the Slimline Floral stencil and I added tumbled glass distress ink, also applied with an oval ink blending brush. I removed the stencil and card from the Make Art STAY-tion and for the sentiment, I used Spellbinders' Fill My Hearts Sentiments stamp set and PinkFresh Studio's Passion Fruit ink. 

We'd love to see your creations in our gallery. Be sure to keep it clean and simple in design.

Thanks for stopping by
sue

This site uses cookies from Google to deliver its services and analyze traffic. Your IP address and user-agent are shared with Google along with performance and security metrics to ensure quality of service, generate usage statistics, and to detect and address abuse. 

Saturday 16 March 2024

Addicted to CAS ~ Challenge #254

Hello Crafty Friends. We have a new challenge for you at Addicted to CAS. For the next  fortnight, our challenge is


Here's my card


For my one-layer card, I started by masking off a 1 3/4" horizontal strip with Post-it Tape. I then used Pretty Pink Posh's Layered Leaves & Flowers layering stencils with distress inks - cracked pistachio, peacock feathers, spiced marmalade, seedless preserves, applied with oval ink blending brushes. I carefully removed the Post-it Tape and stamped the sentiment using Clearly Besotted's Sentimental Type stamp set.

We'd love to see your "BLOOM" cards in our gallery.

Thanks for stoppping by
sue

This site uses cookies from Google to deliver its services and analyze traffic. Your IP address and user-agent are shared with Google along with performance and security metrics to ensure quality of service, generate usage statistics, and to detect and address abuse. 

Saturday 9 March 2024

Die Cut Divas ~ March Challenge with Lawn Fawn

It's a new month and therefore there is a new challenge at Die Cut Divas. This month, we're sponsored by Lawn Fawn. They will be giving our randomly-selected winner a gift card for $25. Thank you Lawn Fawn.


Our challenge this month is ANYTHING GOES

Here's my card


For the background, I used Lawn Fawn's Tropical Leaves background stencils (set of 2) and distress inks - Mustard Seed, Ripe Persimmon, Candied Apple, Picked Raspberry, Mermaid Lagoon, Mowed Lawn. For my colorful pineapple, I used Lawn Fawn's Aloha stamp set and coordinating die. I stamped the pineapple with Memento Tuxedo Black ink and added color with Copic markers - BG05, G07 R05, R29, RV06, Y15. I then die cut it with the coordinating die. On a strip of blue cardstock, I stamped the sentiment from the same stamp set and glued the pineapple. I trimmed the background panel a bit using the largest Waffle Flower Additional A2 Layers die. I then adhered the strip to the background and then the background panel to a green A2 panel. To complete my card, I adhered the panel to a white A2 card base with double-sided tape.

We'd love to see your ANYTHING GOES cards. Be sure to use a die cut!

Thanks for stopping by
sue

This site uses cookies from Google to deliver its services and analyze traffic. Your IP address and user-agent are shared with Google along with performance and security metrics to ensure quality of service, generate usage statistics, and to detect and address abuse. 

Tuesday 5 March 2024

Addicted to Stamps and More! Challenge #463

Hoping you're ready for a new challenge at Addicted to Stamps and More!  Our challenge is


Here's my card


For my card, I started with the cute parrot using Your Next Stamp's Parrot-ise stamp set. I stamped it with Memento Tuxedo Black ink and added color with Copic markers - BG13, C3, Y02, Y17, YR04. I then fussy cut it. For the background, I used My Favorite Things's Oval Extraordinaire stencil, Simon Says STAMP's Clouds for Days stencil and Wendy Vecchi's Make Art STAYtion. I moved the Clouds for Days stencil up, and altered the orientation, as I added tumbled glass distress ink with an oval ink blending brush. I stamped the sentiment from the same stamp set using PinkFresh Studio's Apricot ink. I then adhered the white A2 panel to a white A2 card base to complete my card.

We'd love to see your birthday creations in our gallery this fortnight.

Thanks for stopping by
sue

This site uses cookies from Google to deliver its services and analyze traffic. Your IP address and user-agent are shared with Google along with performance and security metrics to ensure quality of service, generate usage statistics, and to detect and address abuse. 

Try A Sketch on Tuesday ~ Challenge #642

If you're looking for some card-making inspiration, check out our challenge at Try a Sketch on Tuesday


Here's my card


For my card, I started with Lawn Fawn's My Lucky Charm stamp set. I stamped the lucky cat and shamrocks with Memento Tuxedo Black ink. I added color with Copic markers - C3, E21, E33, G05, G07, R11, R29, R32, Y28. I fussy cut the images. I started with a light olive A2 card panel and stamped the sentiment from the same stamp set with Concord & 9th's Clover ink. I found some green patterned paper and cut the darker strip at 1 1/2" wide and the lighter strip at 1/2" wide. I glued them on a diagonal. I cut a thin strip of gold cardstock for the horizontal element. I adhered the lucky icons in place with glue. To complete my card, I adhered the panel to a white A2 card base.

We'd love to see how you're inspired by our sketch this fortnight.

Thanks for stopping by
sue

This site uses cookies from Google to deliver its services and analyze traffic. Your IP address and user-agent are shared with Google along with performance and security metrics to ensure quality of service, generate usage statistics, and to detect and address abuse. 

Monday 4 March 2024

Atlantic Hearts Sketch Challenge #567

It's technically still Monday here on the west coast of North America. It's the start of a new challenge at Atlantic Hearts Sketch Challenge


Here's my take on the sketch


To start, I rotated the sketch 90 degrees to the left. I stamped the floral blooms using Simon Says STAMP's Floral Bookmarking stamp set and Concord & 9th's Oceanside, Buttercup, Poppy, Honeysuckle and Marmalade inks. I fussy cut the blooms. I drew the stems for the vertical element using Tombow Dual Brush pen #192. For the horizontal element, I used several clouds, die cut using Reverse Confetti's Sun 'n Clouds Confetti cuts. For the sentiment tag, I used Simon Says STAMP's Floral Bliss stamp set, Impression Obsession's Mini Rectangle Tags 1 and some black bakers' twine.

We'd love to see how our sketch inspired you. Please add your cards to our gallery.

Thanks for stopping by
sue

This site uses cookies from Google to deliver its services and analyze traffic. Your IP address and user-agent are shared with Google along with performance and security metrics to ensure quality of service, generate usage statistics, and to detect and address abuse. 

Sunday 3 March 2024

AAA Cards ~ Challenge #260

Hope you've been able to find time to craft. I find that crafting is so relaxing for me. I just love sitting in my crafty mess and play with paper. If you're looking for a bit of inspiration, we have a new challenge starting at AAA Cards.


Here's my card


For my card, I used PinkFresh Studio's Charming Floral Border stamp and Memento Tuxedo Black ink stamped onto a white A2 panel. I added color with Copic markers - RV14, RV21, YG63, YG67. For the sentiment, I stamped it on a scrap of pink cardstock with Clearly Besotted's Many Mini Messages stamp set with Versafine Onyx Black ink. I then die cut the sentiment using a My Favorite Things Skinny Strips die. To complete my card, I adhered it to a white A2 card base using double-sided tape.

We'd love to see how you're inspired by our sketch by adding your creation to our gallery.

Thanks for stopping by
sue

This site uses cookies from Google to deliver its services and analyze traffic. Your IP address and user-agent are shared with Google along with performance and security metrics to ensure quality of service, generate usage statistics, and to detect and address abuse. 

Saturday 2 March 2024

Addicted to CAS ~ Challenge #253

It's time for the next challenge at Addicted to CAS. For this challenge, Jaydee is our hostess and she chose


Here's my card


For my card, I used supplies from Pink & Main that I received as part of the kit for Crop & Create Delivered, March 2023. On a white A2 card base, I masked off an area 1 7/8" x 3" with Post-it tape. In the central area, I used Pink & Main's Rectangle Patterns stencil and Mustard Seed distress ink, applied with an oval ink blending brush. I carefully removed the Post-it tape. I die cut the sentiment using some blue cardstock using the Pink & Main's Envelope Pop Up Card dies. For the flowers and leaves, I started by scribbling Copic markers on white cardstock to create colored cardstock. I like the variations in the intensity of the color. I used Copic markers B12, B29, BG13, BG23, RV06, V04, Y06, Y15. I then die cut the flowers and foliage using the same Pink & Main die set. I arranged the flowers and foliage along the bottom of the stenciled area. I glued them in place to complete my card.

We'd love to see your FRIEND cards in our gallery this fortnight.

Thanks for stopping by
sue

This site uses cookies from Google to deliver its services and analyze traffic. Your IP address and user-agent are shared with Google along with performance and security metrics to ensure quality of service, generate usage statistics, and to detect and address abuse.